Seminole Sampler
Friday, June 26 — Chris Lynn Kirsch –Seminole Sampler
3–hour workshop
Supply List
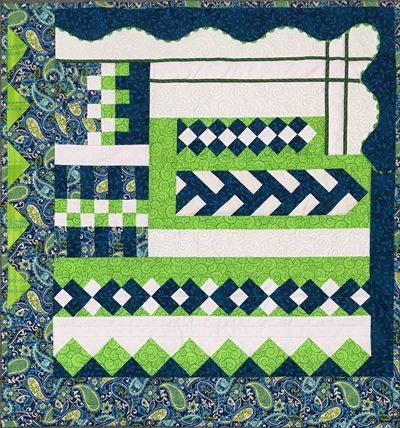
Simple strip piecing, cross-cutting and diagonal re-sewing can add a border that takes your quilt from fine to fantastic. Samples of a number of different Seminole patterns will be made to keep as a reference for future projects. A kit is necessary for all students because the strips are pre-cut and organized to assure students will complete all of the border samples in the time allotted.
- Basic Sewing Supplies (pins,fabric scissors, ripper, name tag, etc.)
- Sewing machine (bring instruction manual and all feet)
- June Tailor Shape Cut™ ruler (optional)
- Rotary cutter, mat and ruler (6″x12″ or close to that size)
- Thread in a neutral color
- A kit will be provided at a cost of $15/student. The kit will include all the fabric necessary to make 5 different border samples.